
To show my geek pride, I settled on a felt celery pin.

Here is what you need to make it:
My Pattern
1 sheet of green felt
Thread to match
Hand sewing needle
Pinking Sheers
Pin back or Safety Pin
Optional: Freezer Paper
Here is how to make it:
If that link doesn't work for you, try this Craftsy link!

For best results print the pattern directly on to freezer paper.
If you don't have freezer paper that will work in your printer, just trace the pattern pieces on to freezer paper.
If you don't have any freezer paper, carefully pin the pattern to the felt.2. Cut out shapes, DO NOT use your good fabric scissors to cut through the paper.
3. Peel off Freezer Paper
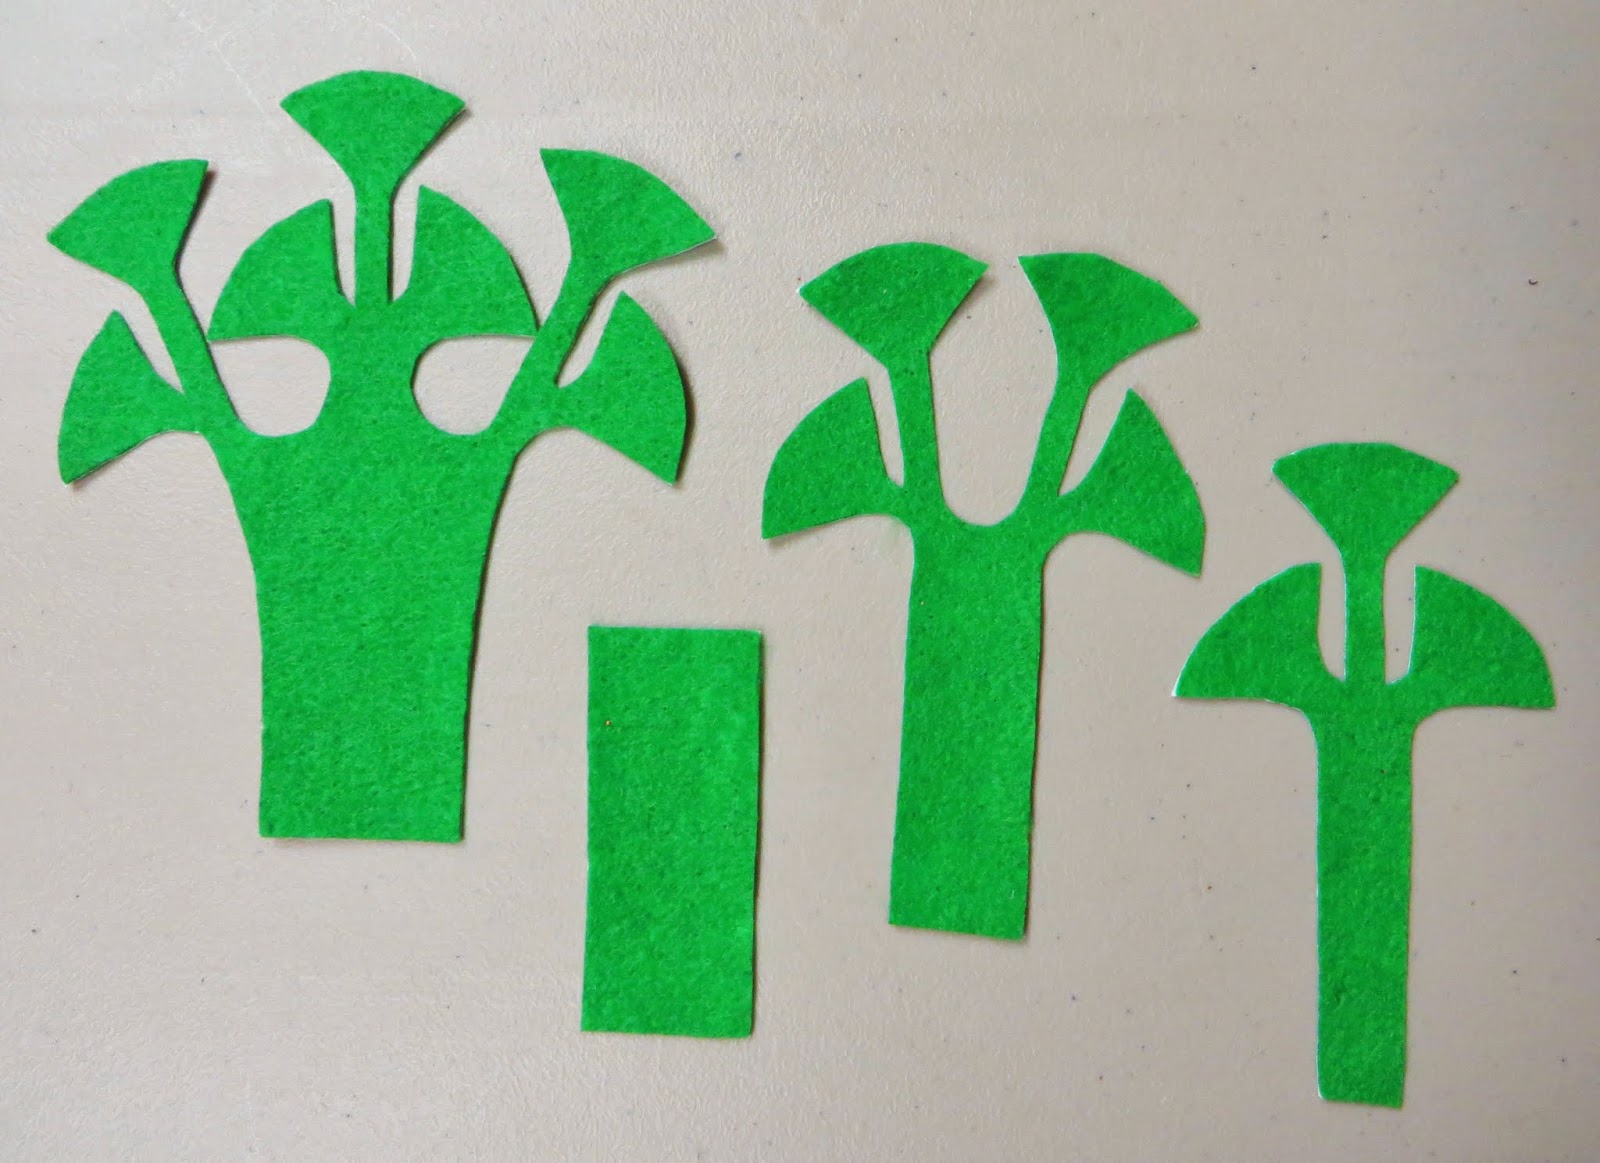 |
| Please note pattern has been modified since this example was made up. |


6. Stab-stitch down the center, then come back filling in the spaces, this is called a Holbein or Blackwork Stitch.
Stab Stitching is done with the needle held at a right angle to the fabric being stitched, unlike running stitches where the needle is woven through the fabrics. The difference becomes noticeable when the fabrics are thick, such as with several layers of felt. the running stitch will have varying distances, but the stab is always the same.

7. Stitch the outer edges, pulling then flush with each other, this will cause the natural curvature seen in real celery. Stab stitch up and then back down.


8. Repeat for other side

9. Stitch halfway between the center and outer edge, creating the channels seen in real celery to form on the back.
10. Repeat for other side.

11. Attach pin to back of celery just bellow the leaves.

12. Wear with your favorite Doctor Shirt.

Also makes a cute addition to any play food set, just omit the pin!
No comments:
Post a Comment